Hello, everyone!
I’ve got some sad news… 😦 This week I made the final cake for my learning project. This cake was requested by my sister for her birthday which was on April 7. I’ve got to say, my sister has a fabulous taste in cakes because she picked a delicious cake for us to end with! 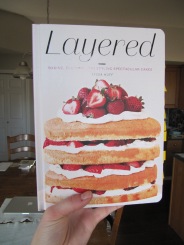
About midway through the semester, I ordered a cake recipe book and that is what I used to learn how to make this cake. Granted a book is not an online source BUT before I bought the book, I found the author, Tessa Huff, on Instagram and did some research online about her cook book and decided that I NEEDED it! I ordered it on amazon and I was ready to bake! So technically, this book was an online source because of how I found it.. (yeah??)
So my sister chose the black forest cake for her birthday cake…YUM! (As you can see, I have lots of cakes already marked and I’m pumped to try them out! Seriously, if you like cakes, check this book out!!!) 
The author is incredibly thorough when writing directions and ingredients. She spells EVERYTHING out so clearly! She provides a detailed list of every single ingredient you will need to bake AND decorate this cake, as well as quantities in metric and imperial measurements. So good!
I tried a couple new things to make this cake. First of all, I filled the cake with whipped cream and cherries, I made a more complicated icing and I used a texture comb for the icing. So let’s see how it turned out:

All my ingredients ready to go!


I was very pleased with how the whipped cream performed as a little dam to keep the cherries contained. It also helped keep the cake moist!


Making the swiss meringue buttercream was the part I was most nervous about. I really did not want to mess it up, considering I was making this cake the day of her birthday and I did not have time to re-make anything. I followed the recipe SO carefully during these steps. I used a thermometer to ensure the egg mixture was the right temperature before whipping it up and it went fairly smoothly! Once I had the majority of the butter added, it looked liked the mixture had curdled and this is where the troubleshooting tips came in handy! Each recipe includes some troubleshooting tips to help ensure your cake is a success, how marvellous! I just kept whipping the mixture, as the book said and viola! All better!


I was so pleased with the final result, this icing is so incredibly smooth and light. To quote my sister when she tried it, “On the scale of smoothness, it beats a baby’s bottom!” (Thanks for that Jess…) But she wasn’t wrong, this icing blew my mind. And the hint of chocolate in it was really delicious! Thanks Layered!


I used this video to get an idea of how to use the comb, she explains everything very clearly and the video enhances her explanation a lot.
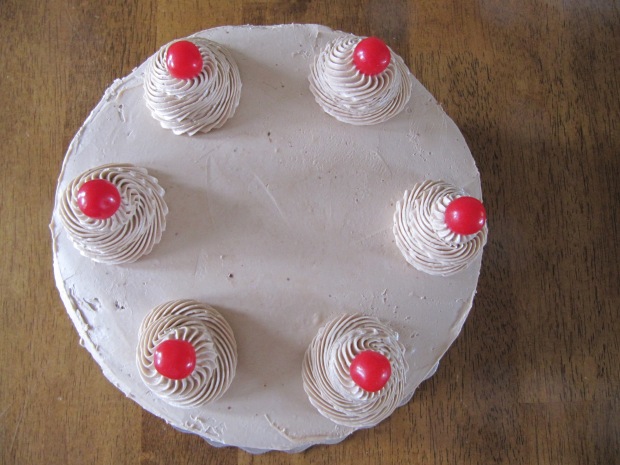
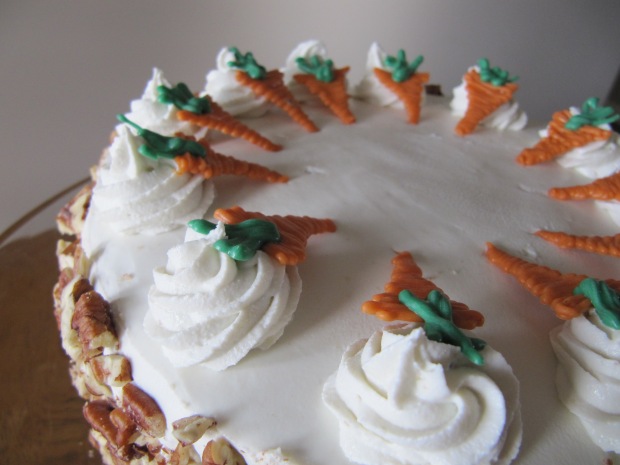
The next step was to frost the cake. I learned when using a texture comb, you need to pile LOTS of icing on the side of the cake, or else it will not work. I skimped on the frosting  the first couple of tries and then I decided to load up the side of the cakes and I discovered that was the key! (sorry I don’t have a picture of the process of “combing,” I was very focused and covered in icing.) Once I was satisfied with how my cake looked, I could breathe again because the hard part was over! I piped some icing dollops along the top, stuck some sour cherries in the top of each and pressed some chopped chocolate into the bottom of the icing to act as a border.
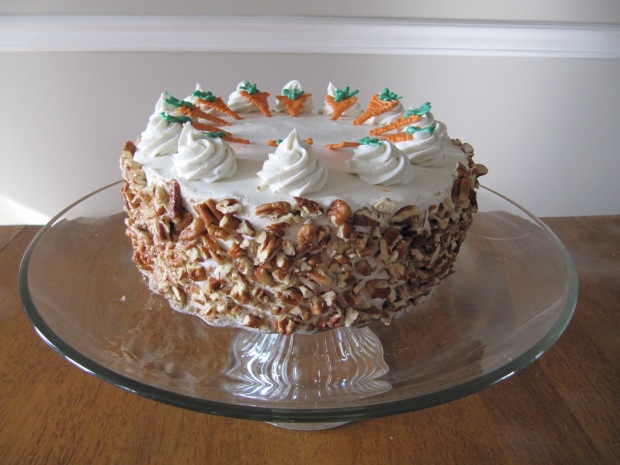
And here is the finished product:


So seeing as this is my final blog post about my learning project, I feel I need to share some of my final thoughts with you!
I really really enjoyed this project and the opportunity that I had to push myself beyond my comfort zone and improve my cake decorating skills. I can tell that I have grown significantly since my first cake back in January. I am very proud of how far I have come and I have learned that I love presenting my hard work to my friends and family. I love being able to see people enjoy my hard work! It makes me feel very proud when they enjoy my cakes.
Throughout this project, I used various mediums to learn how to decorate cakes including Youtube, Instagram, Pinterest and a cookbook. I think my favourite way to learn how to decorate cakes was on Pinterest. It was very easy to sort through different ideas and pick out exactly what I wanted. There is also a ton of variety on Pinterest so I was always able to find exactly what I was looking for.
I am also a visual learner so I found that following a video or at the very least, lots of pictures were super helpful when figuring out how to do something. My first thought when trying a new technique was to look up a tutorial on YouTube. My two favourite channels for finding cake recipes and how-to’s are A Spoonful of Frosting and Rosie’s Dessert Spot. Later in the semester, I discovered a channel called Man About Cake. I really enjoyed watching his tutorials and learning different techniques from him. However, he made really elaborate cakes with multiple tiers and that was something that realistically I just couldn’t do.
Overall, I am very pleased with the resources that are available for someone who is wanting to learn how to decorate cakes. There are so many different options to choose from, and these options all suit different learning styles as well.
Thank you for following along with me as I embarked on the learning journey, it was plenty of fun! I do plan on continuing my learning and perhaps I will blog more about my cake adventures in the future!
Until next time,
Emily Grace.


 Now it’s APP time! (I wish that said nap time…zzz) I almost preferred creating on my phone rather than my laptop, only because it was so much easier to add photos to the video. The various styles and music were all on one page so it was easy to complete those tow steps fairly quickly. On the app, only the free video styles showed up so it felt like there were more styles available to the user.

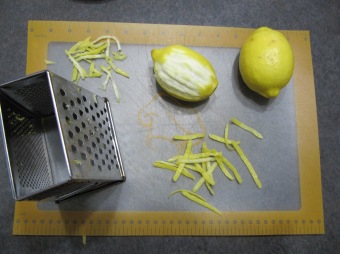 I decided to opt out on spending hours on twisting lemon peels and stuck a slice of lemon on each icing dollop.


 I was very pleased with my crumb coat/final coat. I then asked my family members and they all agreed that I should stick with my original plan of making a naked cake. So I made a